The propellant grain is cast from a sorbitol mixture consisting of 80% sorbitol, 10% synthetic paraffin wax, 8% AL powder, and 2% red iron oxide as a burn rate catalyst. I was able to make a simple spreadsheet to help with the calculations. I have also included red copper oxide but that will be utilized in later experiments.
I came across this formula from a Dutch research paper for the Stratos II rocket.
Sorbitol-Based Hybrid Fuel Studies with Nitrous
Oxide for the Stratos II Sounding Rocket
It’s DOI is: 10.2514/6.2013-4049, you should be able to locate and download it through any reference library or Sci Hub.
The 80/10/10 ratio gives a theoretical Isp of 234, but they reveal after testing they got 198, which can be useful if we add a burn rate catalyst. There are two easily obtained choices, red iron oxide and red copper oxide. Red copper oxide will be covered later, for the purposes of this motor we will use the red iron oxide. You will not need regnant grade and I was able to obtain 5 lbs. of it or about $20 from U.S. Pigment Corporation, they also had the copper oxide, albeit it is more expensive than the iron.
Sorbitol melts at around 200F so basic kitchen safety is required. Once molten it has the consistency of a thick hot batter, although it does pour easily. I chose to use a small 1 quart sauce pan since this was my first time and I wanted to familiarize myself with the characteristics of sorbitol propellant. More than a few lessons were learned, not only on how the mixture behaves but also with the printed tooling I used such as the casting plug which necessitated a update of the design. A new scale was acquired, they have become so inexpensive that a rather highly accurate one can be obtained for less than $100, make sure it has the capability to have an AC adapter for more accurate measurements. It will also be used to measure your N2O charge when prepping the motor. A portable heat source is required. I used an old Coleman 502 single burner stove that I overhauled a while ago just because I had it sitting around.
Making small batches allows you to use small containers for the ingredients. I used disposable plastic cups, the five and two ounce available form Amazon in packs of 200 I believe.
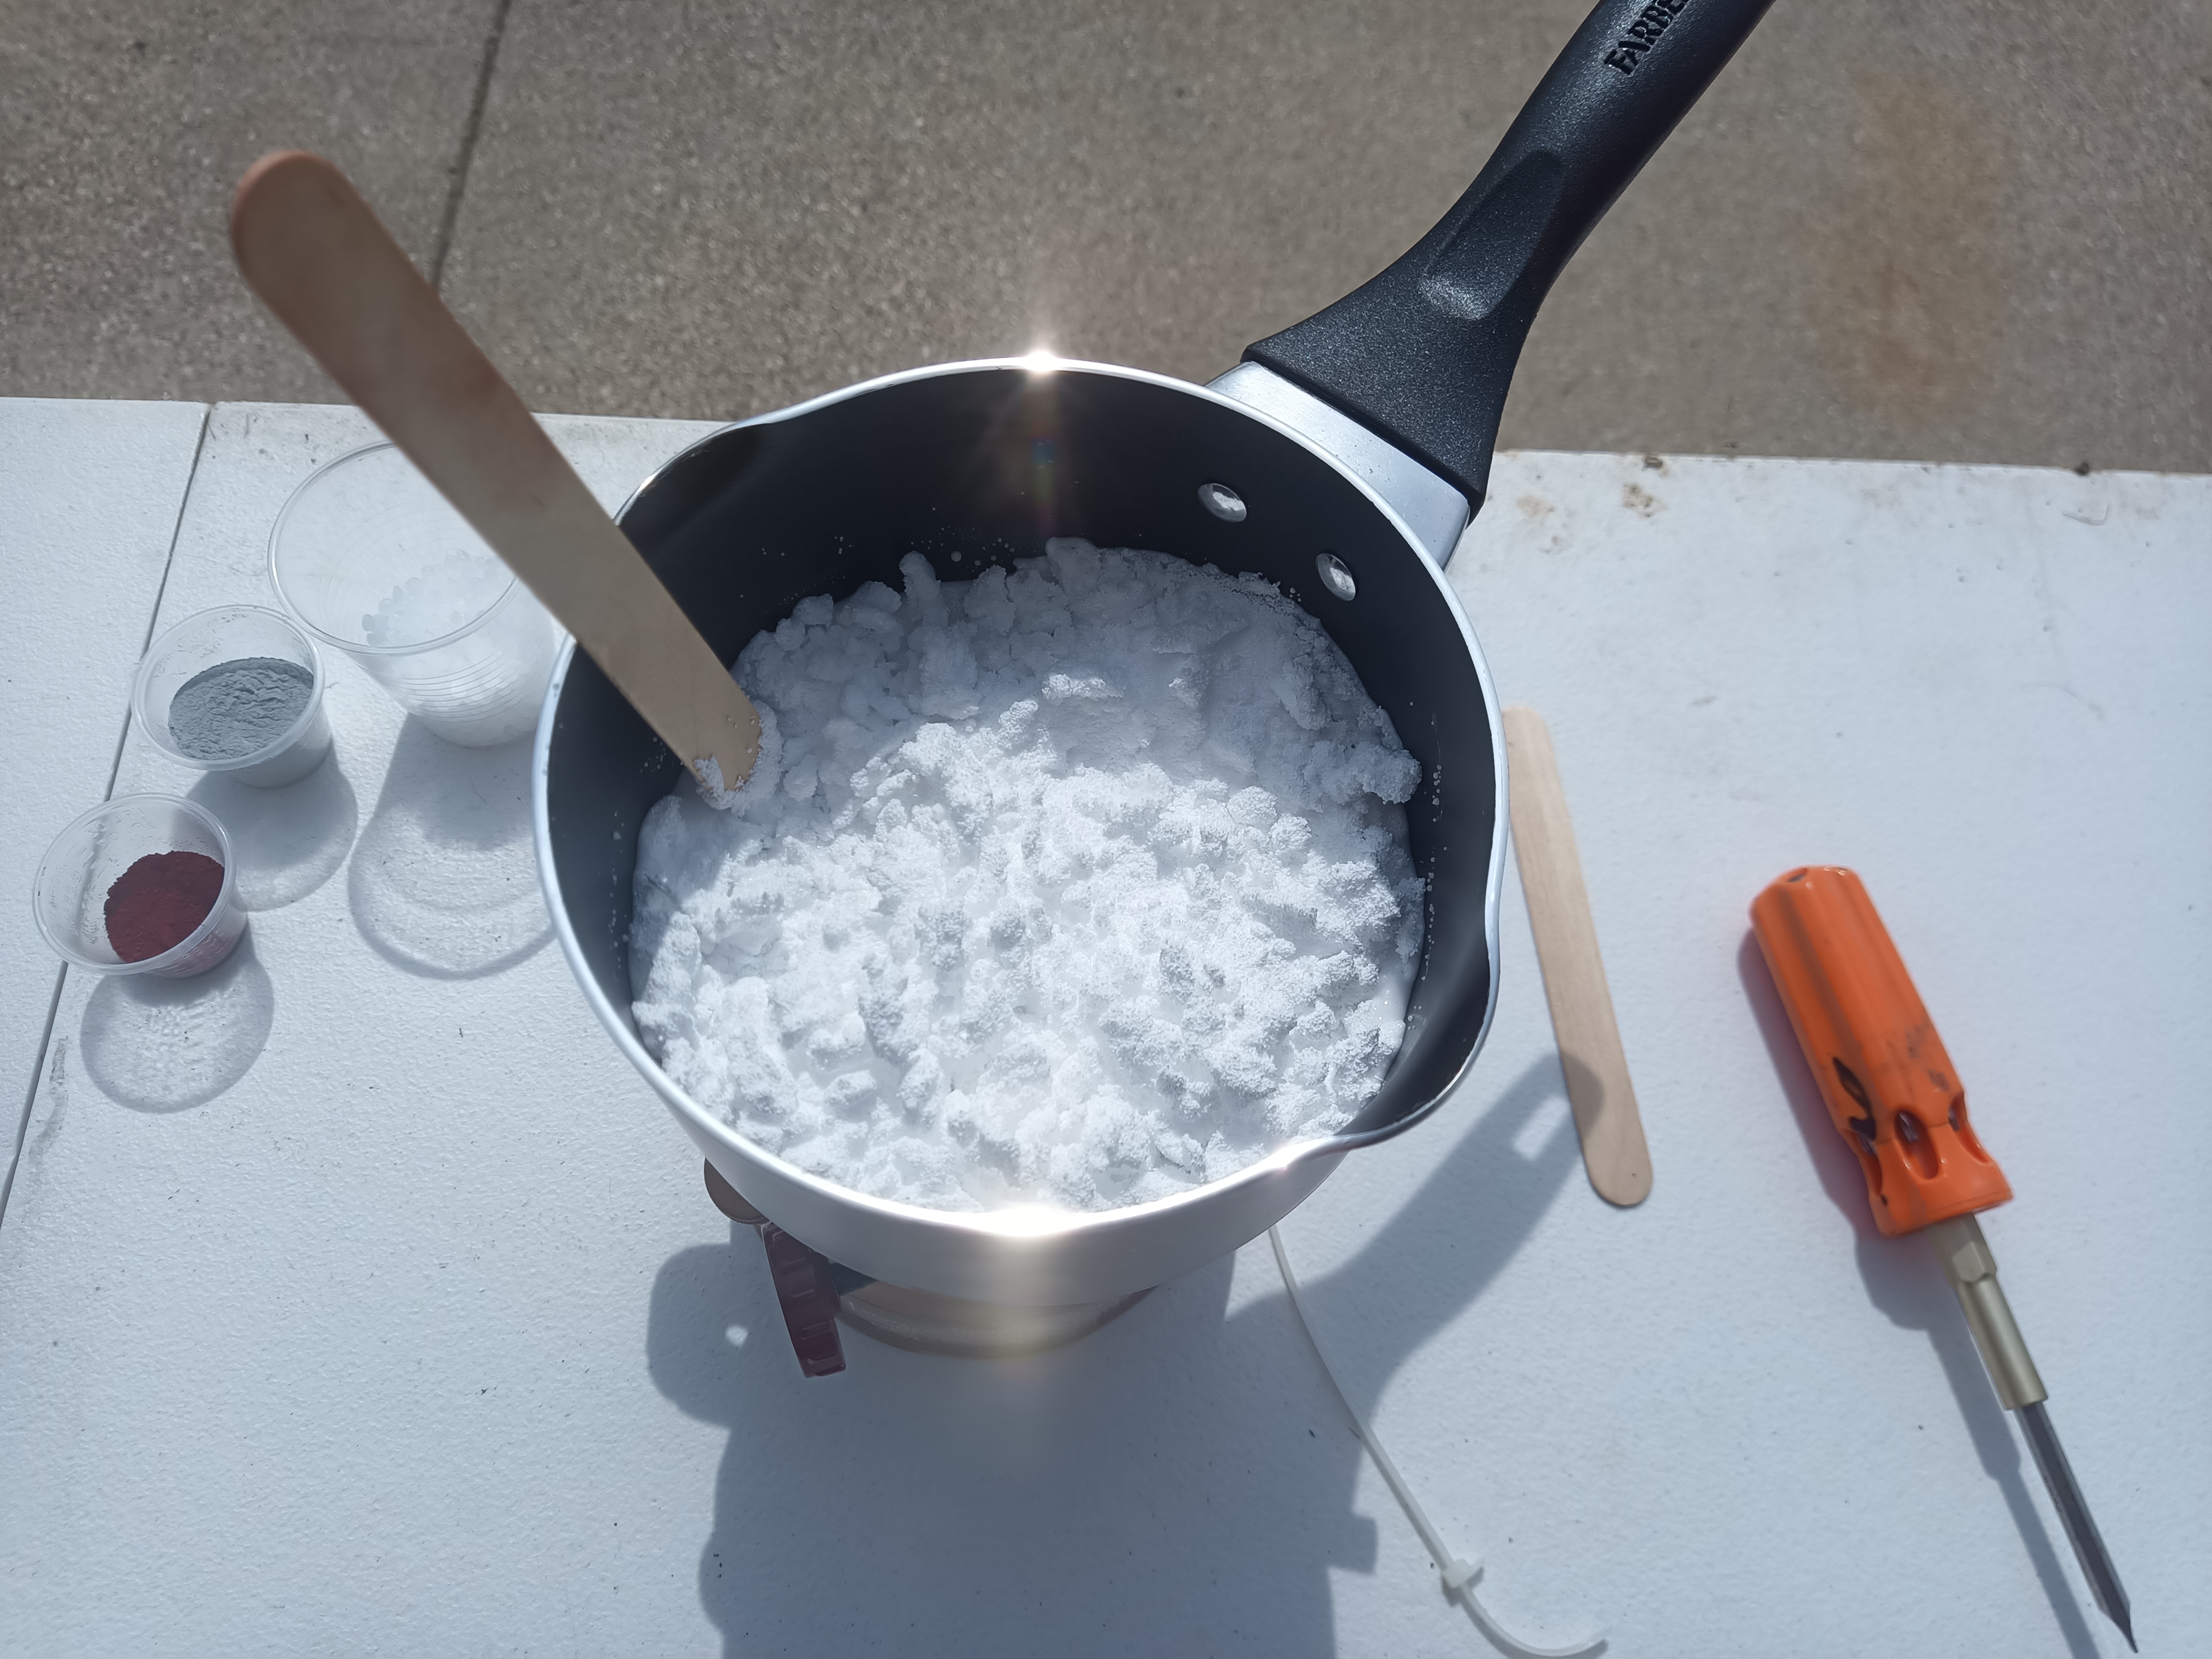
When sorbitol melts, it does not caramelize, making it easier to work with but you still must be vigilant with temperature control to prevent a fire.
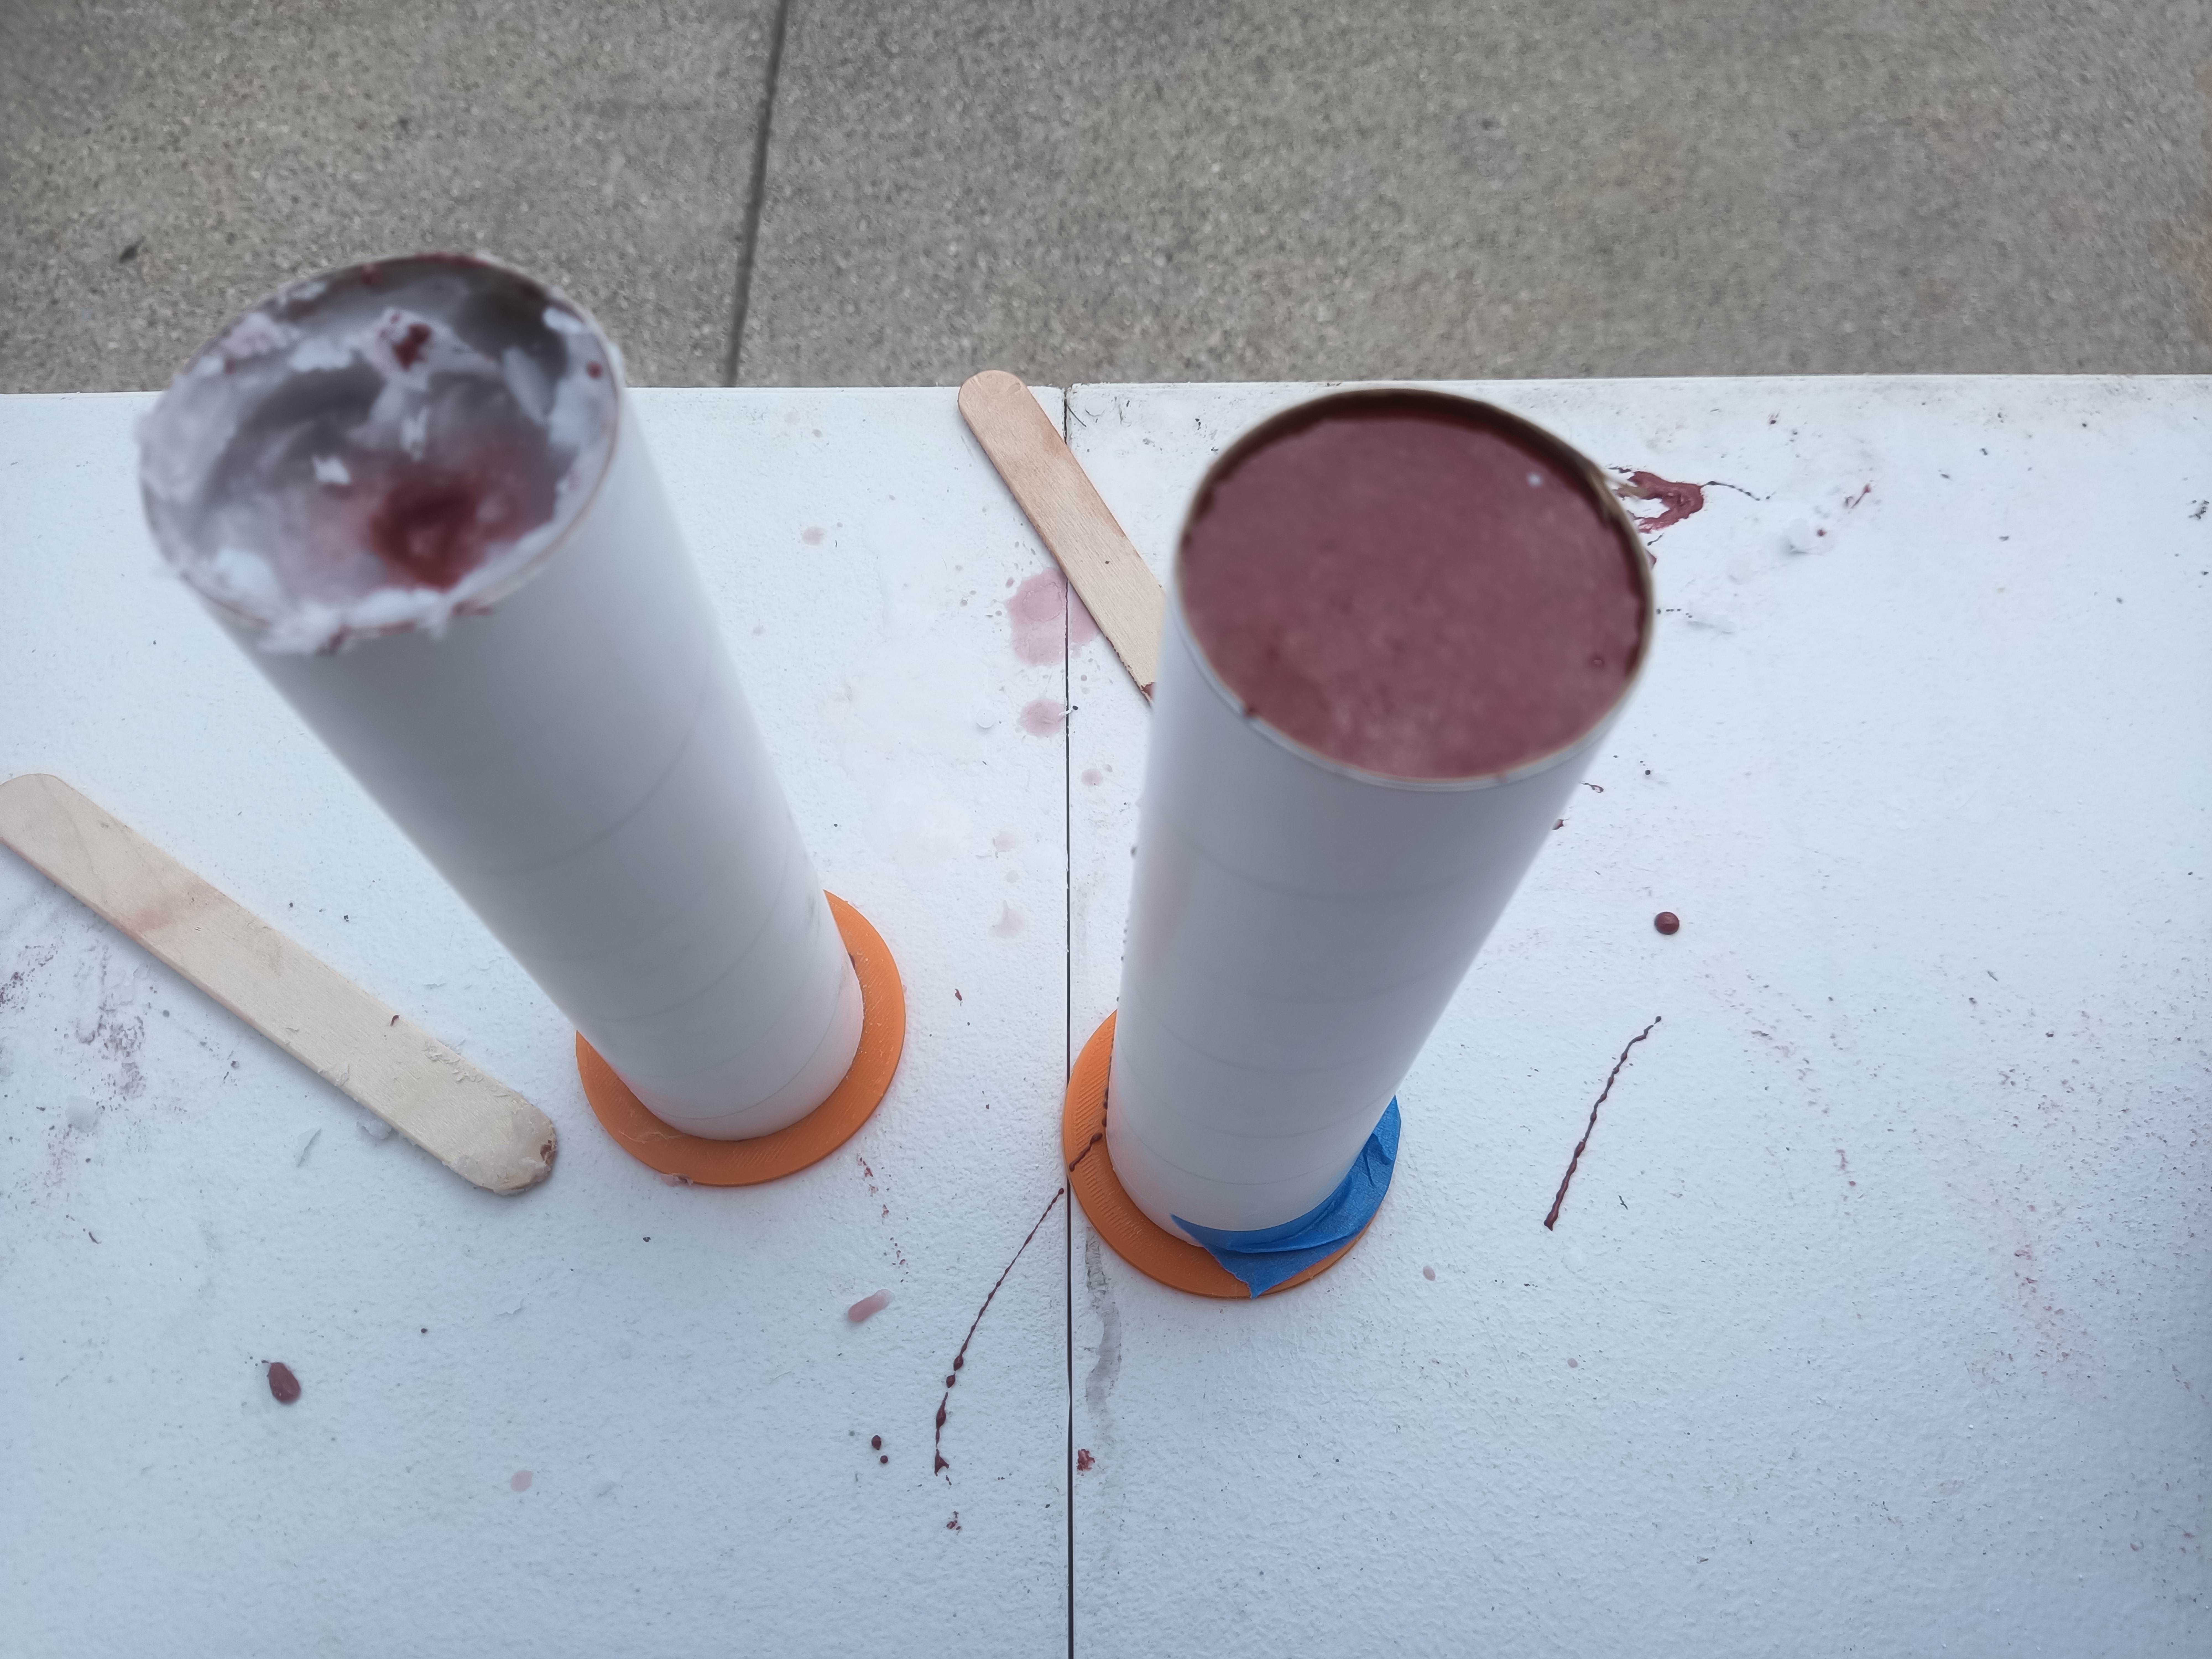
The first grain is on the right, the wax has a tendency to float on the top due to different densities but my son helped me monitor the temp and we kept mixing it during pouring. The second grain on the left I had problems with the the wax separating and probably should have waited a bit longer but I got impatient and some of the wax floated to the top before the grain cooled enough.
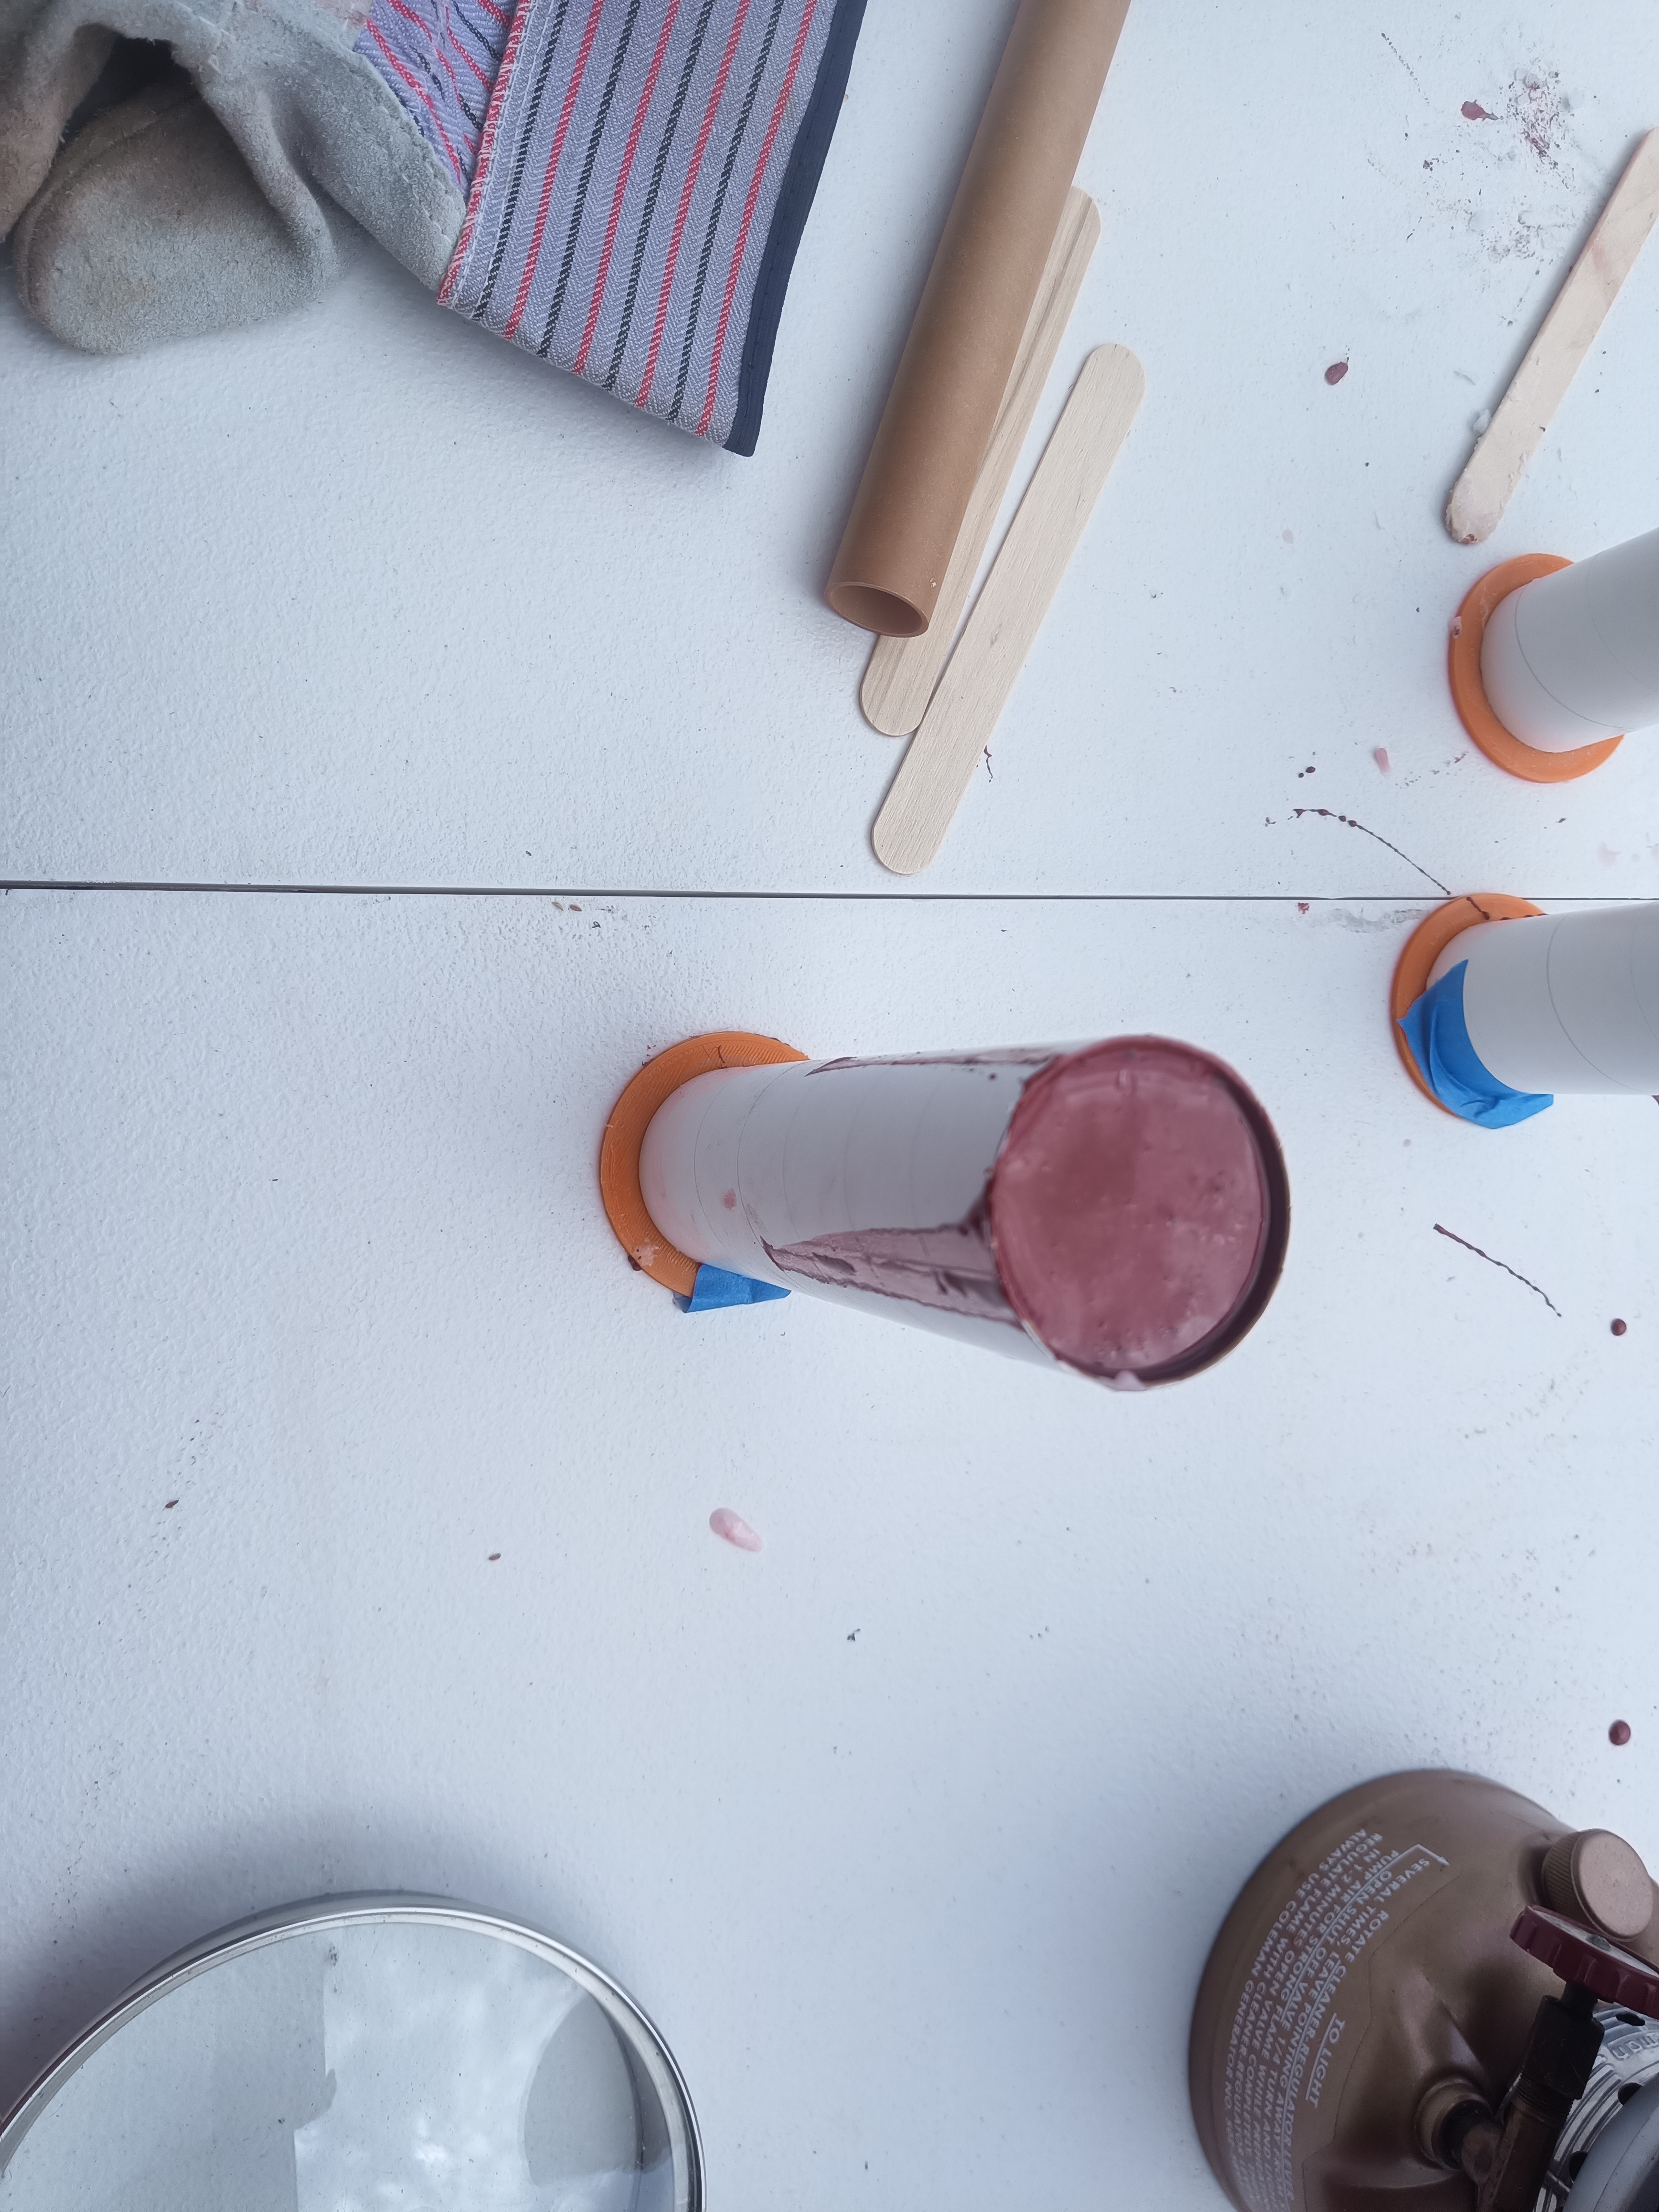
This was the third grain, I omitted the wax and it poured great but I discovered a problem with the casting plug. As I left for less than a minute I came back to this wonderful surprise.
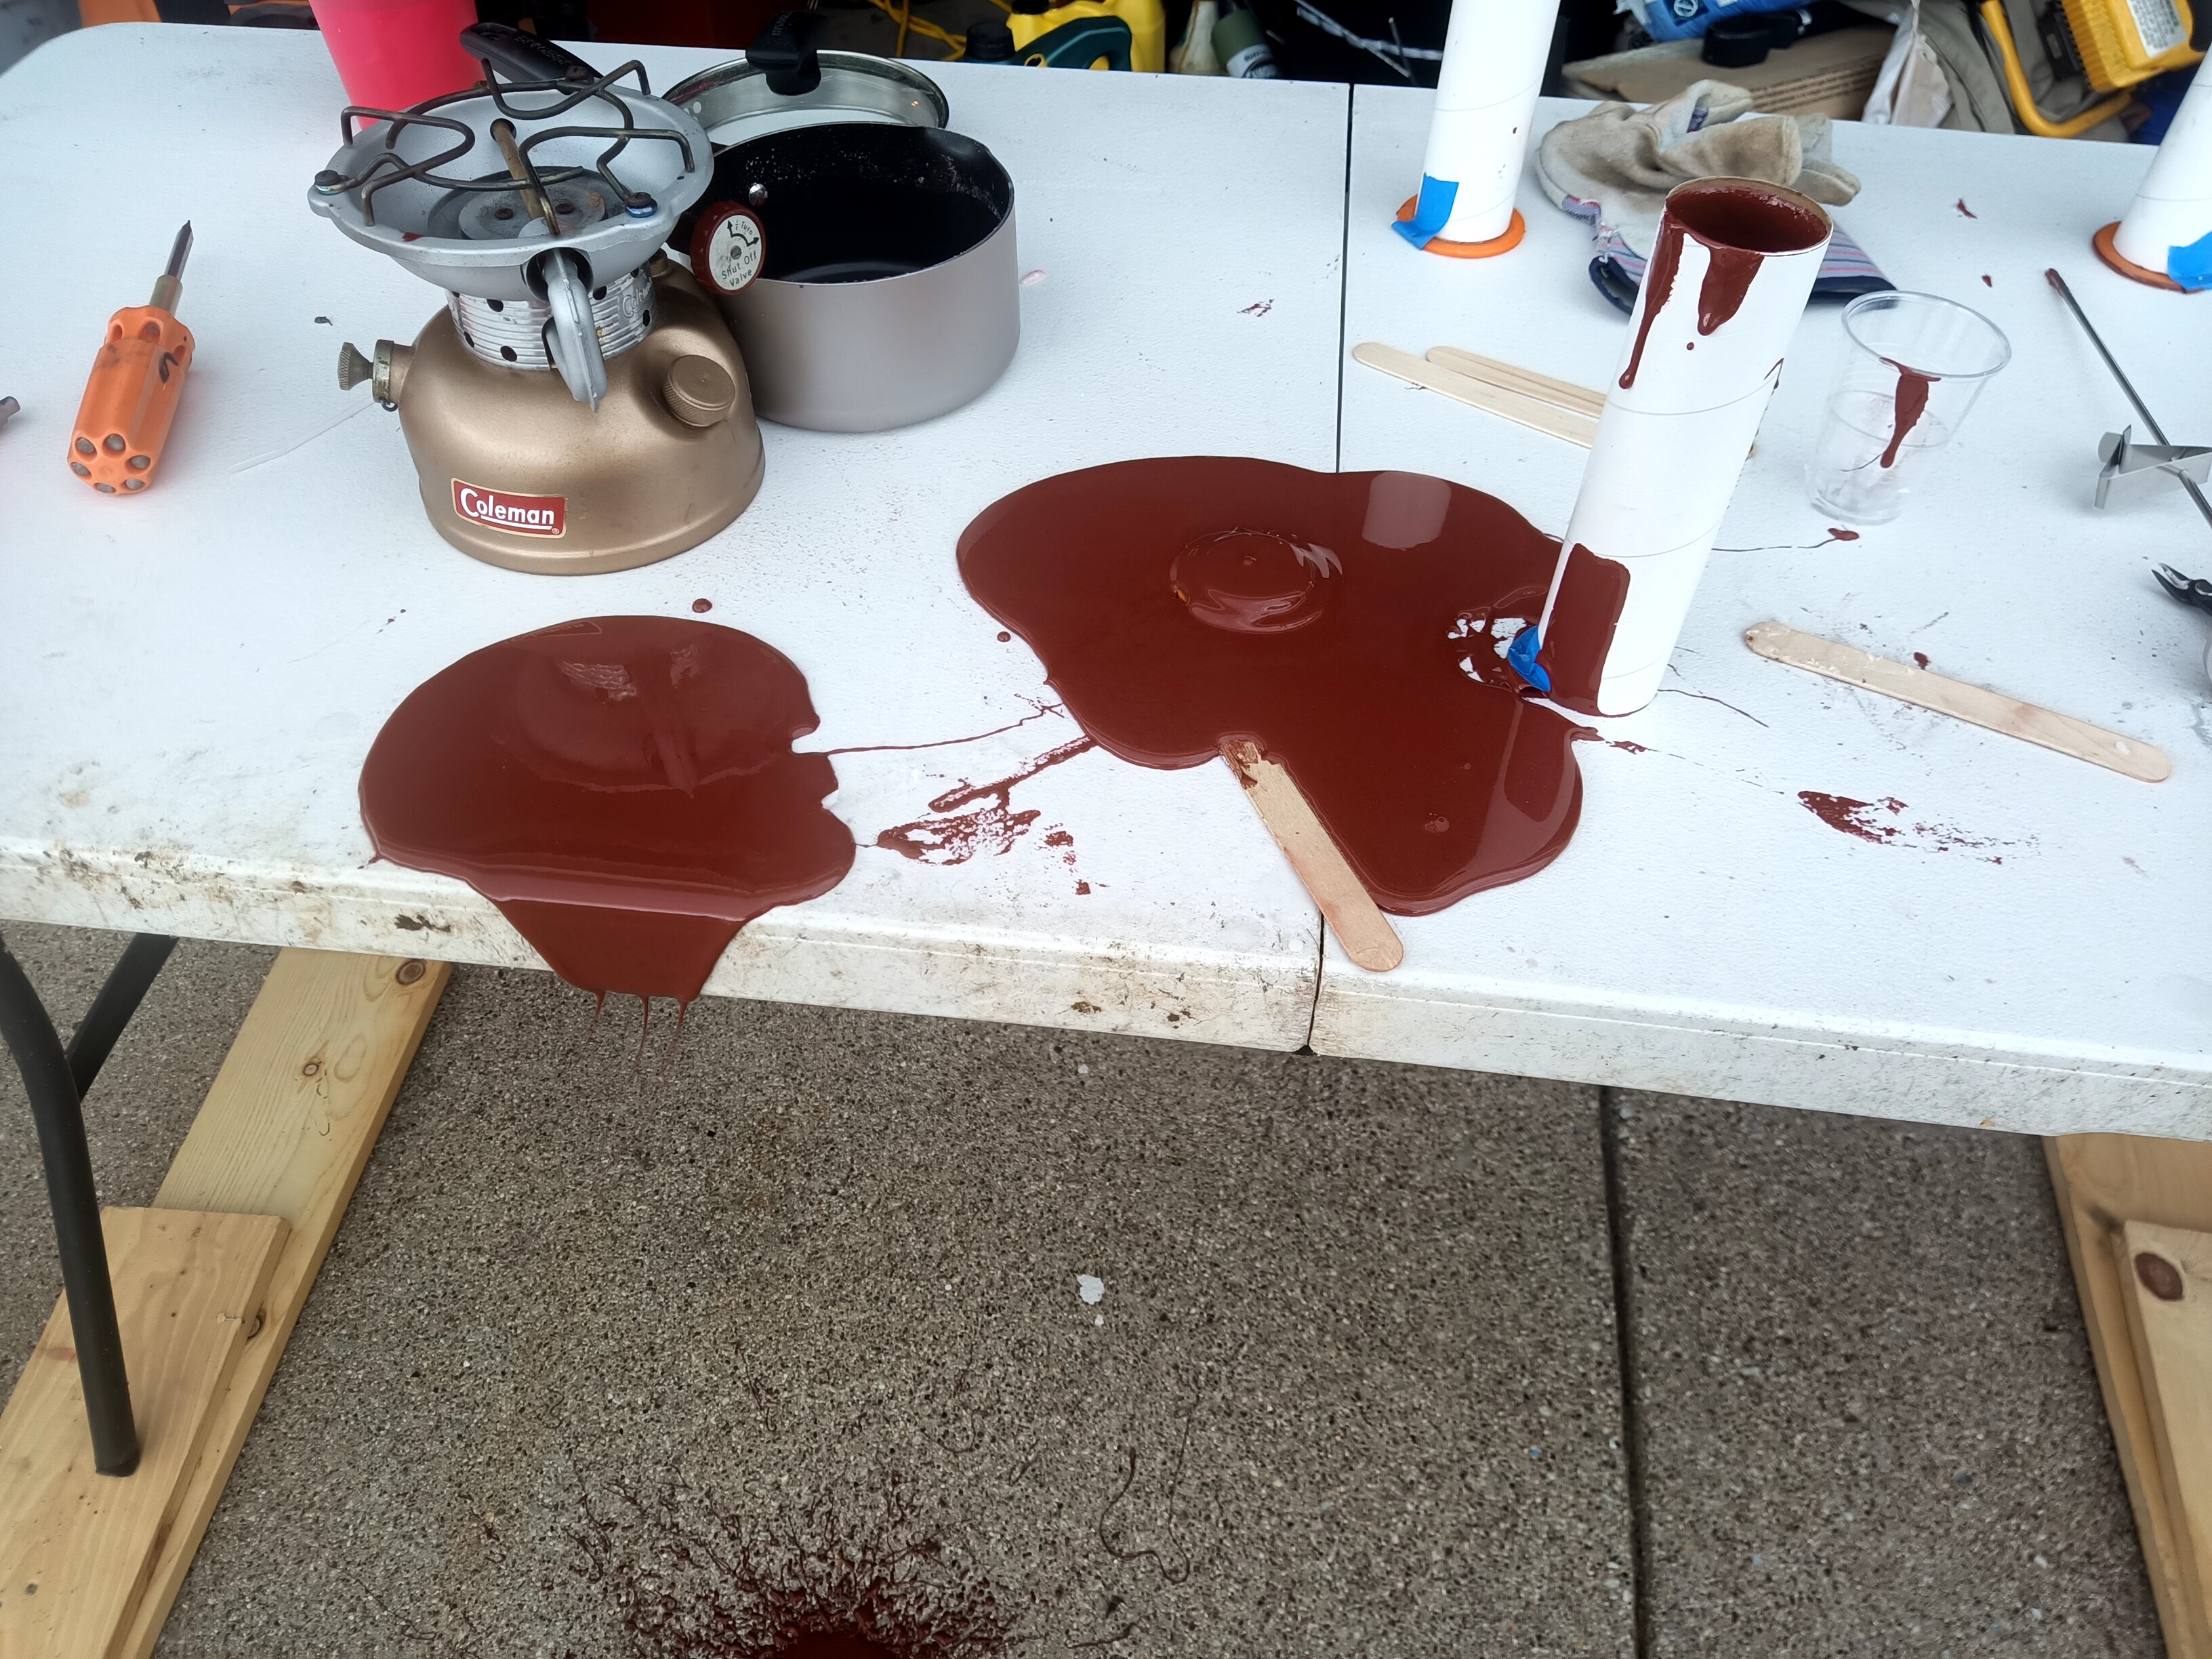
This is why you do it outside. The good news is that the nature of the propellant is that rain will wash it away. This leak resulted in the redesign of the casting plug with a grove and lip to seal the tube to prevent this in the future.
One layer of blue painters tape helps seal against leaks. Printed at 100% infill out of Duramic PLA+. I have uploaded all of the printed tooling used for this project to Thingiverse. Just search for designs under P_Carroll and they will be listed. I also tried to melt some HDPE and cast it as an alternative, but that did not work out out too well. I got a lump of burned plastic.
I could probably use and HTPB binder and try them that way later on but right now I am going to focus on the sorbitol because of its availably and cost. I do have an old gallon of R45 I found in the garage so some curative is on the way. The next batch of grains I am also going to dope the mixture with 10% KN as well as cast some HTPB grains.
