This page has been made as a repository of tips, techniques, and other projects related to the Aerotech Hybrid. They are written by the respective rocketeer / researcher and are the sole property of the author but posted with permission.
Fabricating Original Style Pin Valve
My previous efforts to recreate a usable pin valve for use with the forward closure resulted in a time crunch that forced me to go in a different direction and use a variation of the design from Alpha Hybrids. Initial efforts are here :
https://wordpress.com/post/pcarroll2525.com/202
Recently I was gifted a recreation of the factory pin valve by another Aerotech hybrid user and experimenter Leland Dexter of Micro Nitro Rockets. It is perhaps the closest thing to the original without finding a stash of NOS and will become a treasured part of my hybrid motor parts. I asked him to do a write up of his instructions for others that may want to duplicate his work and he agreed. The introduction is below and you can download the full document by the link at the end.
Lathe-based Pin Valve Modifications for Patrick Carroll’s
AeroTech RMS 54/1280 Hybrid Revival Project V.6
Leland R. Dexter – nmrockets@yahoo.com

This is an alternative set of procedures using a lathe to modify an Interstate Pneumatics WRCO2-PV brand pin valve for use with Patrick Carroll’s revival of the AeroTech RMS 54/1280 Hybrid rocket motor.
Important note: copper (and brass is an alloy of copper and zinc) is catalytic to N2O decomposition. You should be aware of this property and double-down on all the usual safety precautions implemented when flying any N2O hybrid; like keeping the flight tank temperature well below the critical point and avoiding “water hammer effects” by using slow valve operations etc. Fortunately, the CGA Handbook lists brass as an acceptable plumbing metal for use with nitrous oxide. Brass has been used for injectors in sport hybrids for decades. And, the relatively small tank inside diameter (44 mm) and passageway diameters (down to 4 mm) we are employing here should have an adequate quenching effect.
I have not detected any problems, nor have I heard of any problems, arising from the use of brass parts in these revival hybrids! Please let me know if you experience otherwise.
Reshaping Threads:
Please note these methods are unconventional but will help reduce your stress level and prolong the life of your lathe because:
- The standard right-hand thread cutting method (tool moves rapidly toward the headstock) is one of the most ill-conceived and potentially damaging procedures in all of traditional hand-dialed (crank yanker) machining. However, many skilled machinists have figured out clever ways to bypass this fundamental problem and we will apply some of those here.
- Chasing pre-existing threads is a fairly tricky procedure for the traditional hand-dialed machinist to master. Doubly difficult if your tool is jamming rapidly toward a hard stop! However, if you have at least a basic familiarity with using a lathe, and you understand the terms used, you should be able to obtain useable results your first time if you follow these instructions closely!
Overview of my basic method:
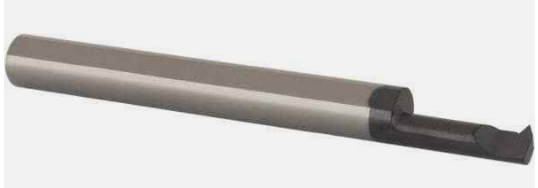
- Obtain a Scientific Cutting Tools tm (SCT) TT2901000 single-point threading tool. This number tool is the optimal size for our needs (note: this tool is actually designed to cut ID threads):
Single Point Tools — Scientific Cutting Tools, Inc. (sct-usa.com)
- Change the gearing of your lathe to 14 threads per inch.
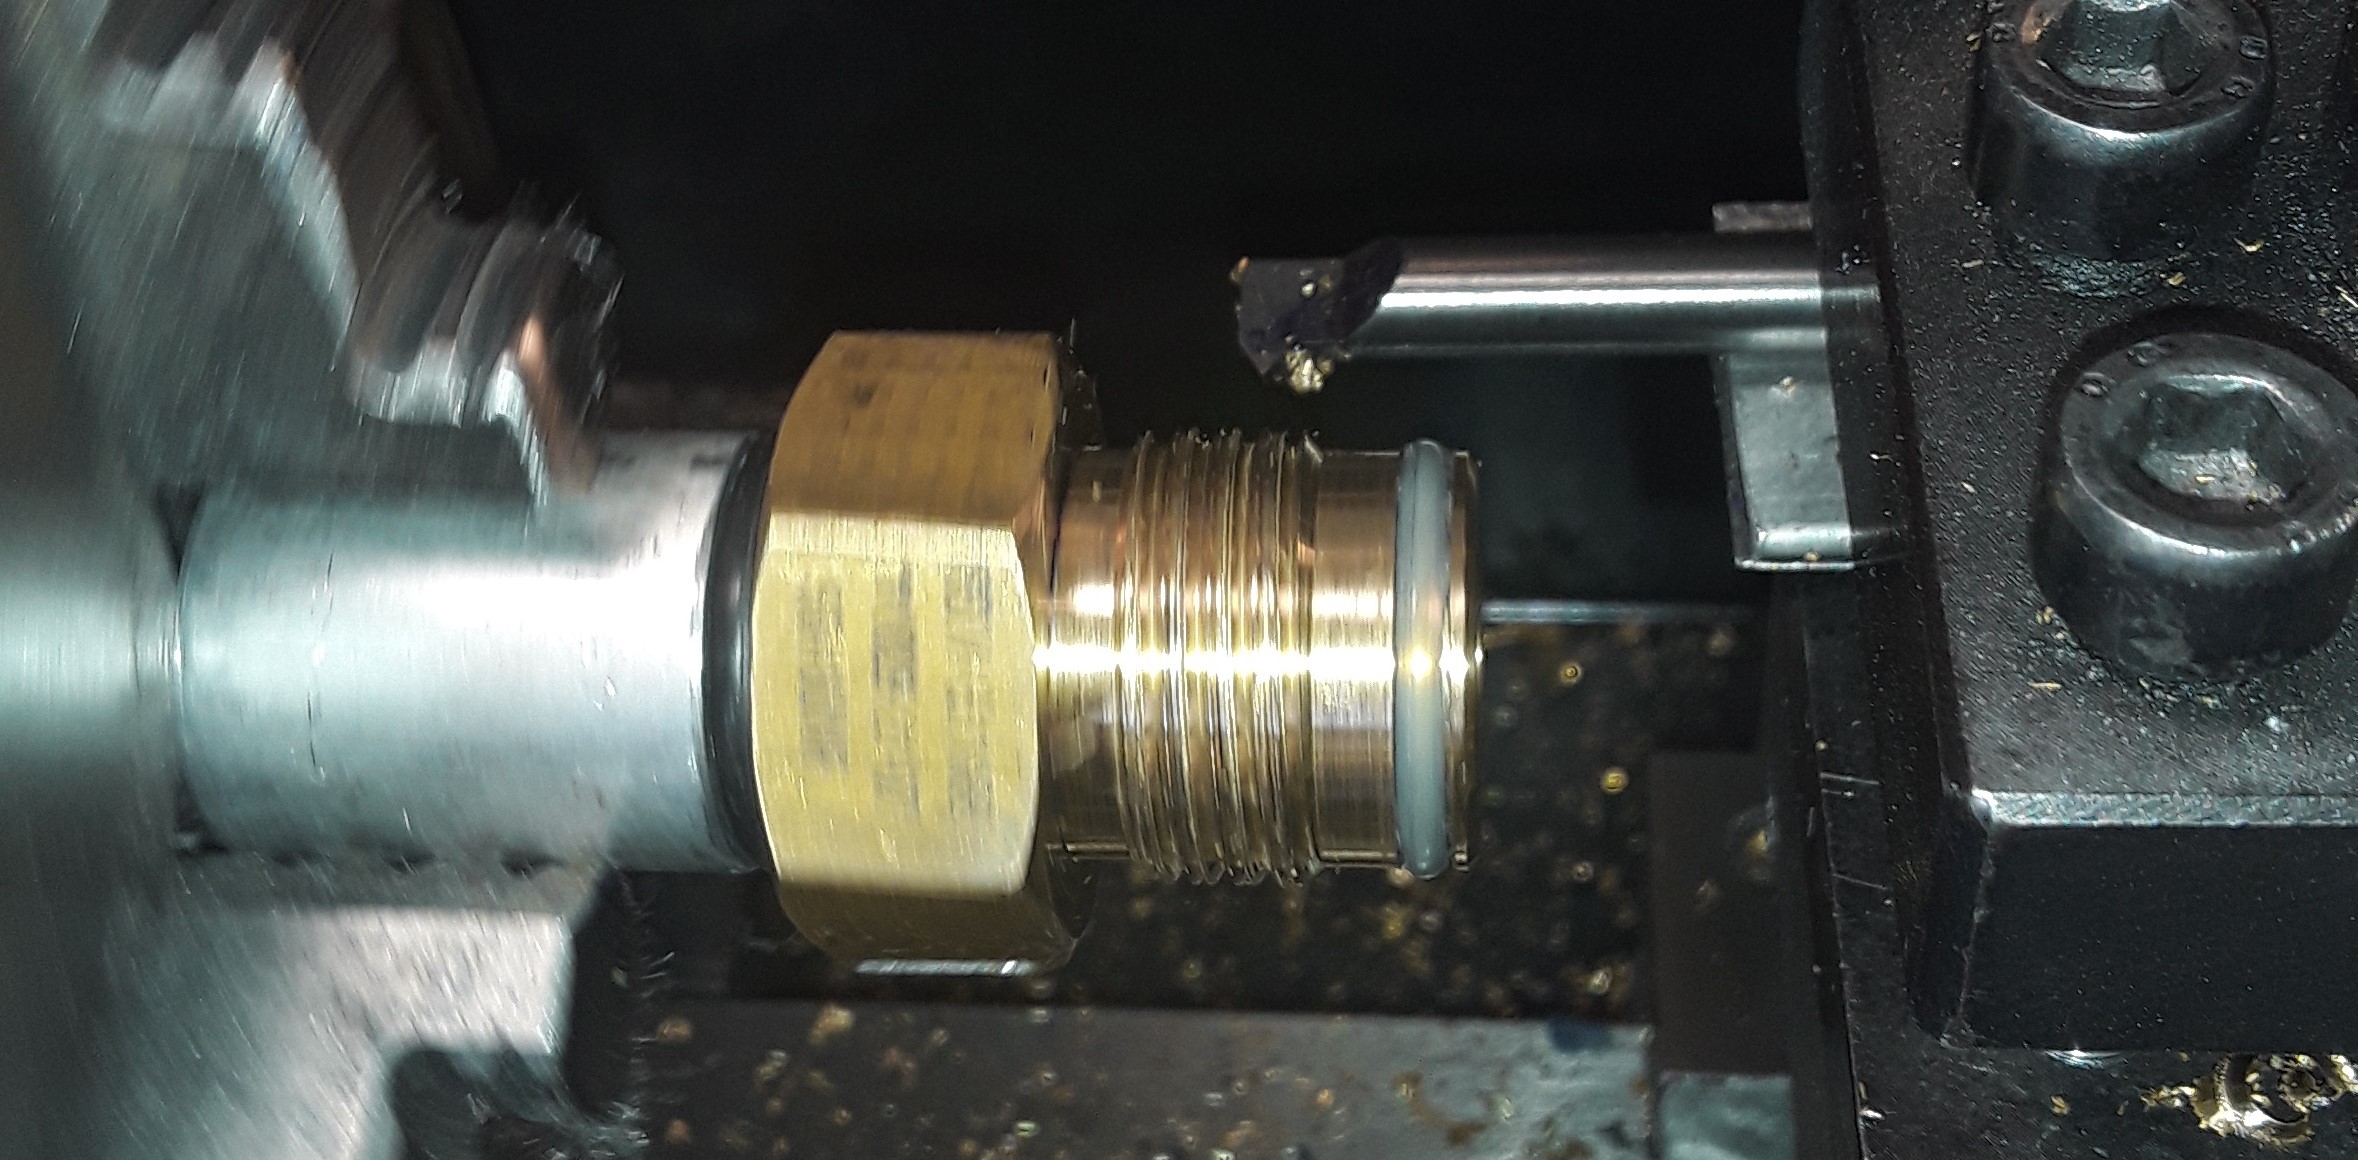
- Set up the tool post with the SCT threading tool ON THE BACK SIDE of the work, shaft oriented parallel to the bed and the 60o angled tip pointing in perpendicular to the bed (see photo).
- Run the lathe in REVERSE, never take it out of reverse until finished with the thread reshaping.
- With the half-nut engaged, index the tool tip to any existing thread groove.
- Release the half-nut and back the carriage to the stop.
- Begin the cutting. Be sure to engage the half-nut only on one of the proper index marks on the thread dial. Check your lathe manual.
- You will actually be cutting the threads with the point face of the tool that is aimed toward the tailstock (not how it was designed).
- Take numerous very small (0.001” to 0.002”) cuts because once the tool tip engages the work the frictional contact increases dramatically very quickly and this can produce big time chatter!
Additional Pin Valve Lathe Work:
- Set your lathe back to normal feed gearing!!
- Turn the pin down to 0.063” diameter.
- Drill the outlet port to 5/32” diameter.
- Drill the jam nut port to 0.190” diameter.
- Thoroughly clean oil from all pin valve parts before exposing them to nitrous oxide.
For more details and step-by-step instructions download the full procedure here: UPDATED 10/18/2024
Leland’s Injector Plates
04/26/2024
Making Simple “Fixed Jet” Injector Plates for Patrick Carroll’s
AeroTech RMS 54/1280 Hybrid Revival Project V.1
Leland R. Dexter – nmrockets@yahoo.com
This is a set of procedures using a conventional “hand dialed” lathe, drill press and optional “hand dialed” milling machine to make simple “fixed-jet” injector plates for use with Patrick Carroll’s revival of the AeroTech RMS 54/1280 Hybrid rocket motor.
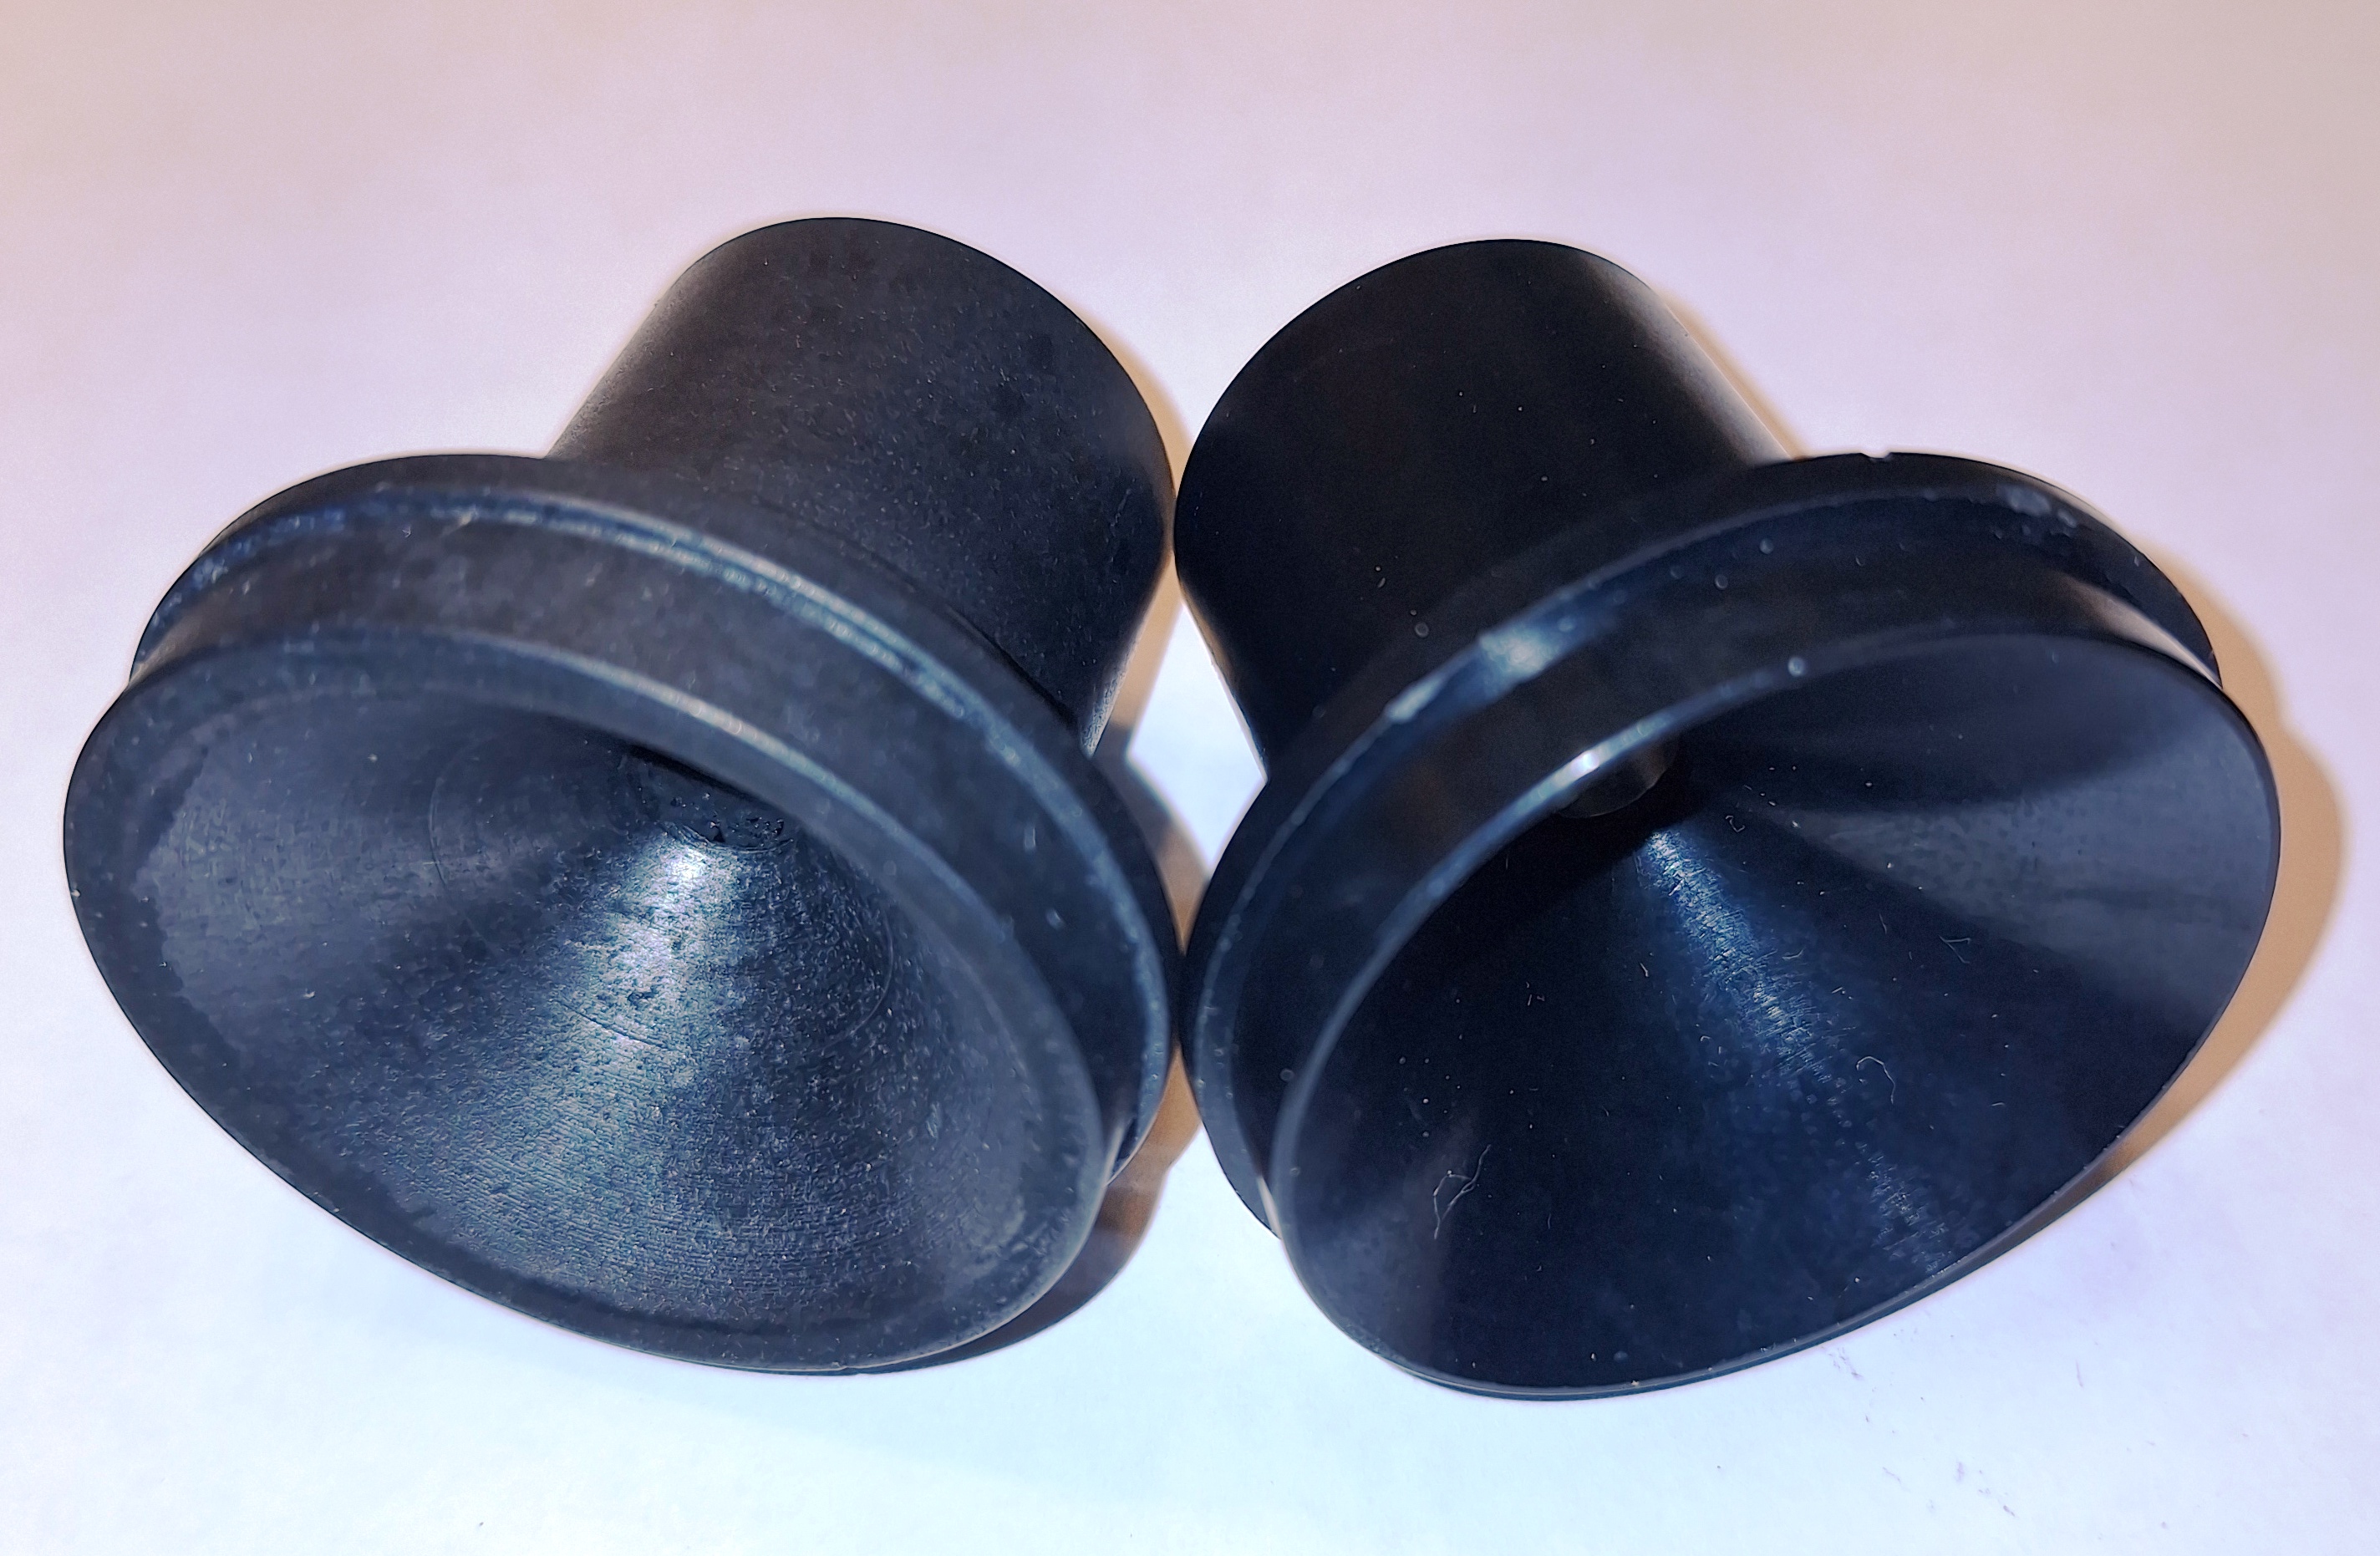
The original injector plate supplied with the AeroTech 54/1280 RMS Hybrid motor is a bit complicated. Arranged symmetrically around the base of the central depressor pin (used to open the pin valve of the flight tank) are 8 holes. Half of the holes are drilled through (the actual 1/16” orifice size) and also partially drilled and tapped 3-48 for set screws. Every other hole is blind-drilled and also tapped for 3-48 set screws. The idea is that set-screws can be used to block off unwanted injector jets and the blind holes can be used to store extra set-screws.
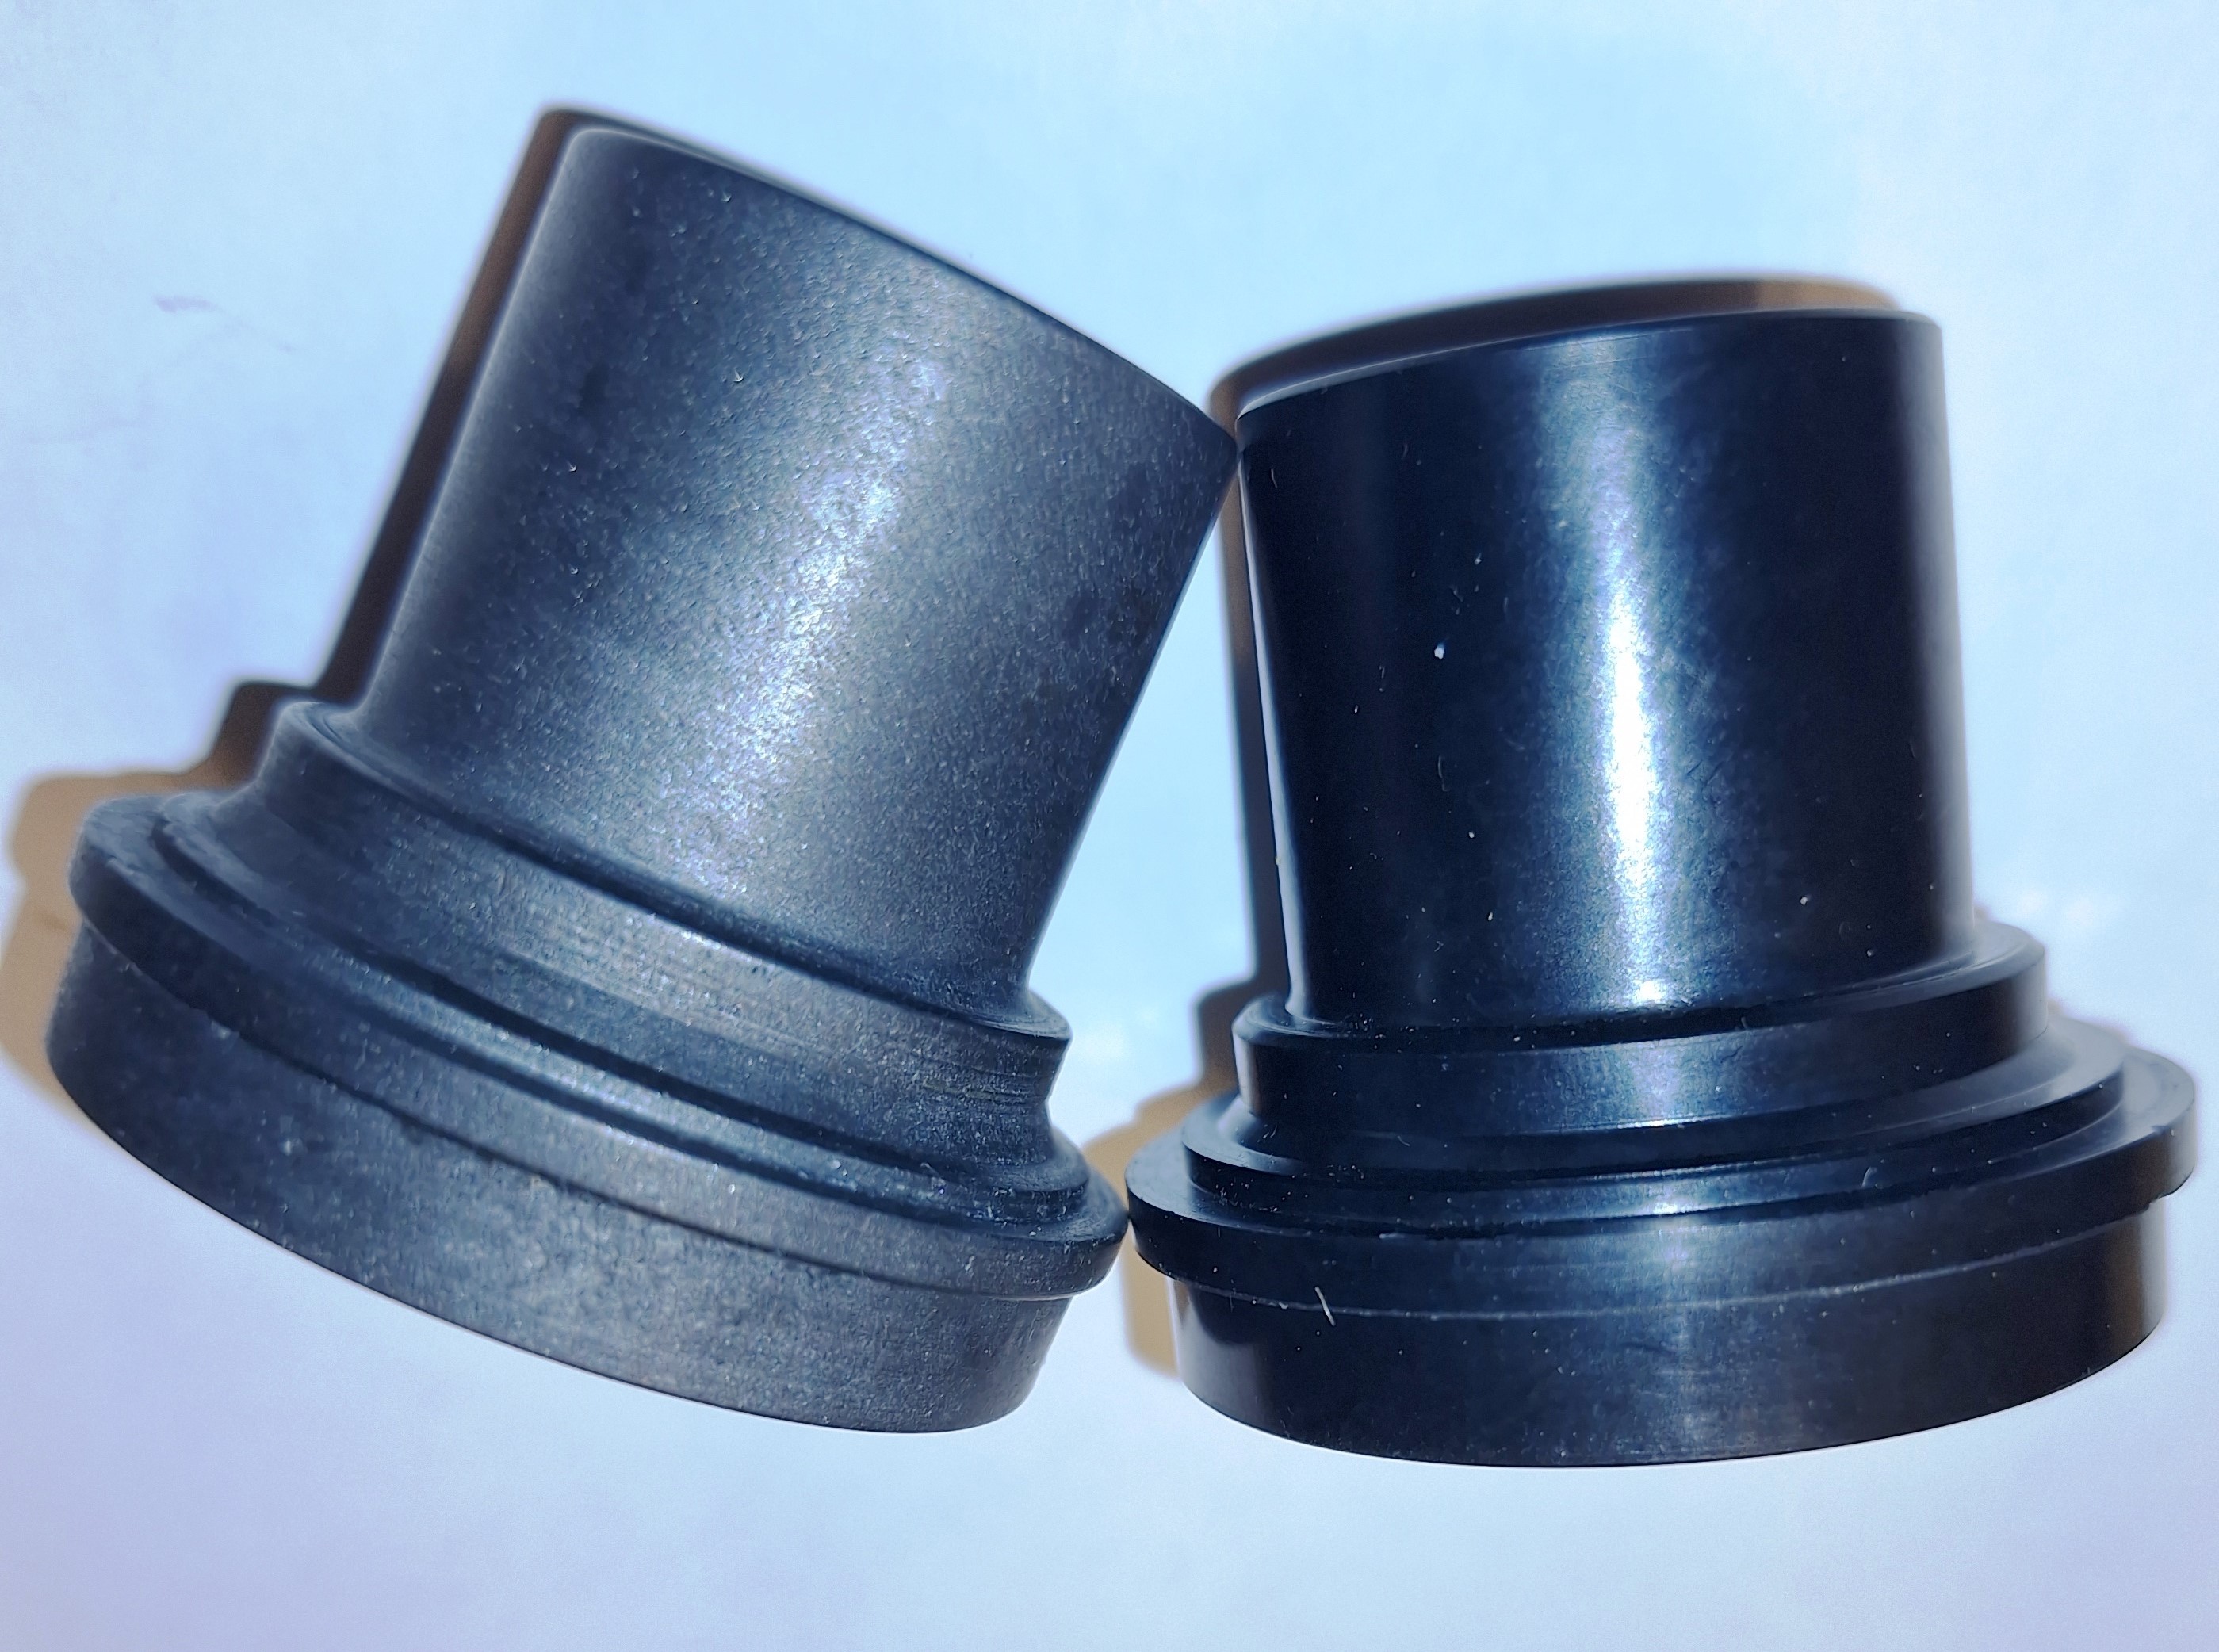
This makes a nice CNC project as demonstrated by Jordan Slavish’s work and as seen on Patrick’s web site! However, my approach is much simpler and involves only basic lathe and drill press work to make serviceable injector plates (photo below). Optionally, a milling machine with a rotary table attachment will do a beautiful job of precisely locating and drilling the orifice jet holes. A minor inconvenience of this approach is that the plate must be switched out to change jet configurations.
Objectives:
Five main operations need to be performed to make simple fixed-jet injectors. First, using the lathe, turn down a piece of aluminum (or stainless steel) round bar to form the general OD of the part.
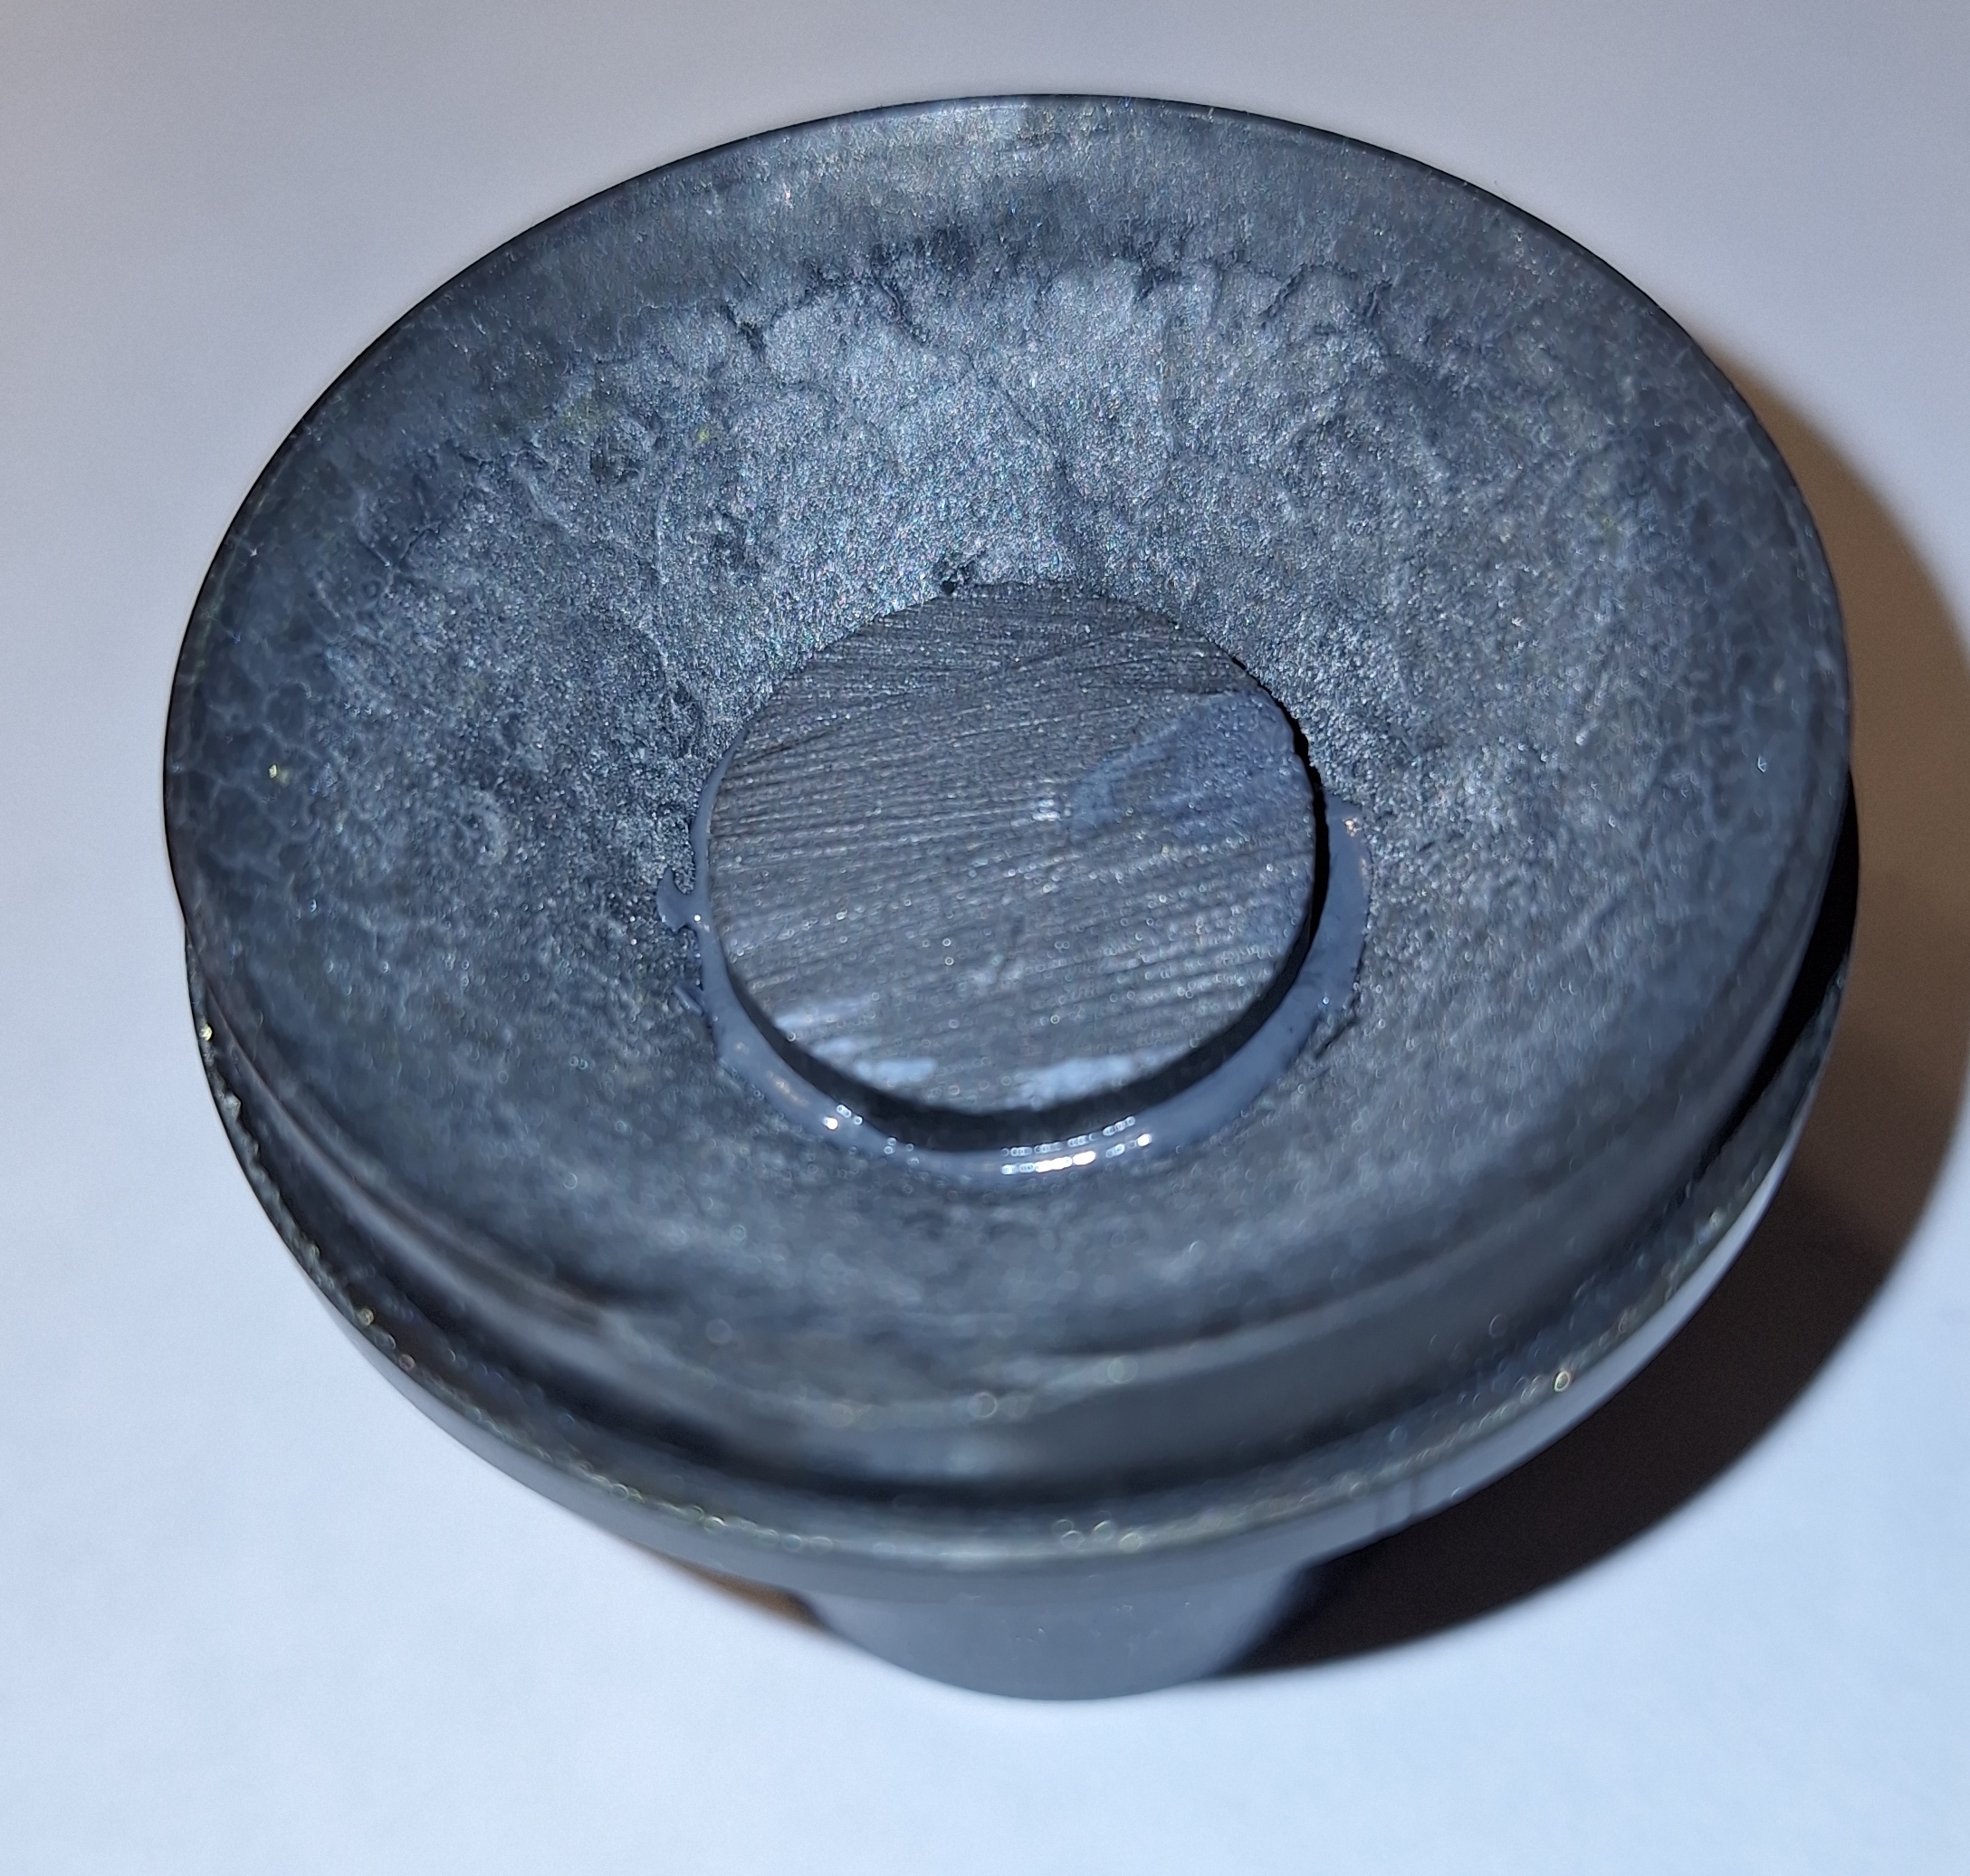
Second, further turn down the forward section of rod to form the depressor pin. Third, cut off the part to rough length and reverse it in the chuck. Fourth, face off to finished length and turn the O-ring recess.
Finally, use a drill press to carefully drill the desired number of injector ports. Optionally, a milling machine with a rotary table can be used to do a nicer job on locating and drilling the injector holes.
For more details and step-by-step instructions download the full procedure file:
Updated 8/27/2024
Leland’s flight Analysis of his aerotech 54mm hybrid
04/26/2024
Lealnd’s rebuilt nozzle
04/26/2024
Leland not only duplicated the original nozzle in graphite but he also came up with a method to refurbish a used one as well.
” Basically bored a 3/4″ diameter cavity where the old throat was, epoxied in (plus snug press fit) a 5/8″ long plug of 3/4″ diameter graphite, then drilled and reshaped the nozzle.”